This is the season where food truly ties us all together. Family recipes at Thanksgiving. Grandma’s special way of prepping the food. How you cook your turkey matters – brined, stuffed, fried, or roasted? Better yet, who is in charge of the turkey? Maybe y’all don’t even have a turkey, but enjoy wild game. Every Texas home is different. But we share the traditions of coming together and showing gratitude for where we live and who we are around.
I would argue that Texans are made for this season. Whether you are a first cousin or neighbor who just moved to town, all are welcome to gather round the table or the campfire, talk about life and the simple things that bring us all together.
I would argue that “opening weekend” kicks us off.
The term “Opening weekend” is almost sacred in Texas, denoting either the beginning of dove, deer, duck, turkey, or quail season – to name a few. Events and even weddings are planned around it, and the quintessential “lease” is secured well in advance of this date.
ATV’s on trailers heading up and down Texas highways, every type of “camo” on sale in stores, and folks snagging a hunting license are indications the season is near.
Although less evident in metropolitan areas, rural towns and country sides where hunting is prolific become abuzz with folks excited about being in the country, catching a glimpse of wildlife, and reveling in nature.
Although I’m not a hunter, my husband and sons enjoyed many bonding weekends at the hunting lease along with close friends. The campfire at the end of the day seemed to be their favorite part of the weekend aside from the big hunt in early mornings and late afternoons. Here stories, jokes, and general bragging took center stage – creating memories and opportunities for adults to pass their legacy to the next generation.
Texas Wildlife Association
The Texas Wildlife Association (TWA), a non-profit, “serves Texas wildlife and its habitat, while protecting property rights, hunting heritage, and the conservation efforts of those who value and steward wildlife resources.” With headquarters in New Braunfels, the TWA was founded in 1985 by a group of ranchers, wildlife managers and hunters dedicated to the conservation, management, and enhancement of wildlife and wildlife habitat on private lands.
Since 95% of Texas land is privately owned, hunters, anglers, wildlife watchers and conservationists recognized the necessity of working cooperatively with private landowners on wildlife, habitat and conservation issues. TWA recognizes these landowners hold the key to the well-being of wildlife, game, nongame and rare species located on their land.
The TWA offers conservation programs for youth, adults, families and teachers. Also, youth and adult “learn to hunt” programs are offered. For a full list of programming or to join the Texas Wildlife Association, go to Texas-wildlife.org/membership or call 800 Tex-Wild.
In honor of the significance this season has for Texans, we met with Scott Heneke, who shared his family’s secret, but simple technique for tenderizing meat.
Fried Backstrap Recipe
Scott Heneke is an avid hunter who delights in sharing his property full of white-tail deer and other exotics with his children and occasional hunters.
A multi-generational Texan, and Real Estate Investor by profession, Scott spends his weekends hunting and fishing as much as time allows. His heart lies in his ranch in George West where his family retreats during the holidays.
“Our immediate and extended family – aunts, uncles, cousins all spend time together away from the hustle of life to recharge. Watching the white-tail, Axis, Oreck, bison, Sika, and Waterbuck roam intermingled with an early morning hunt with my kids is a happy place for my wife, Collette and me.”
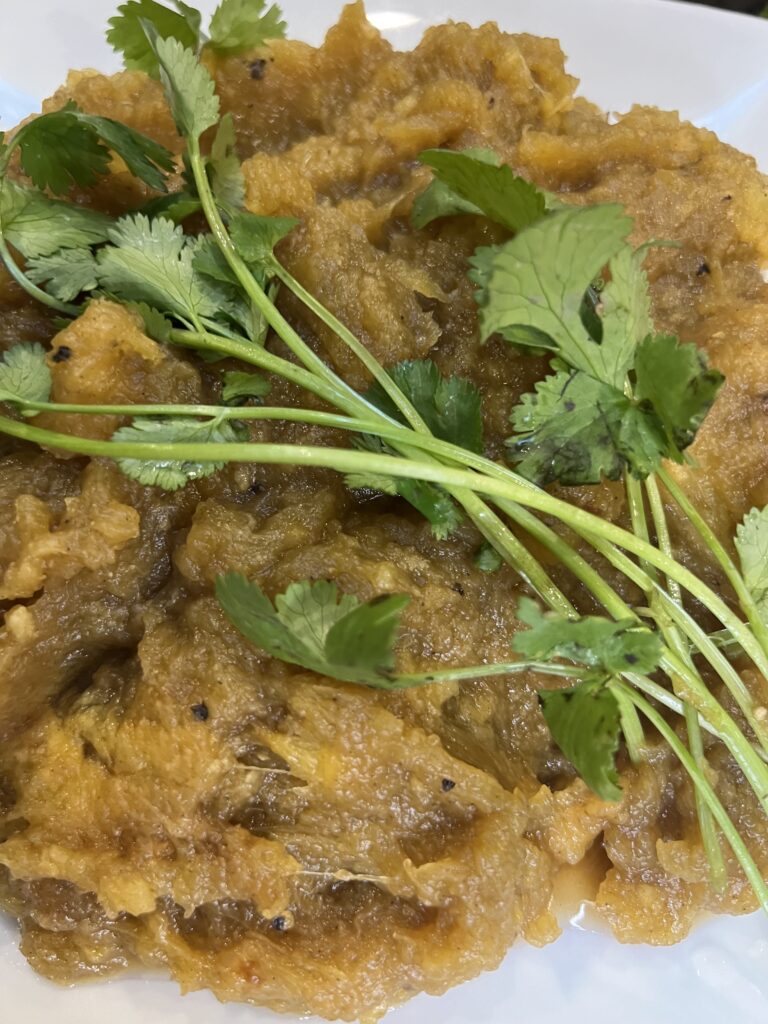
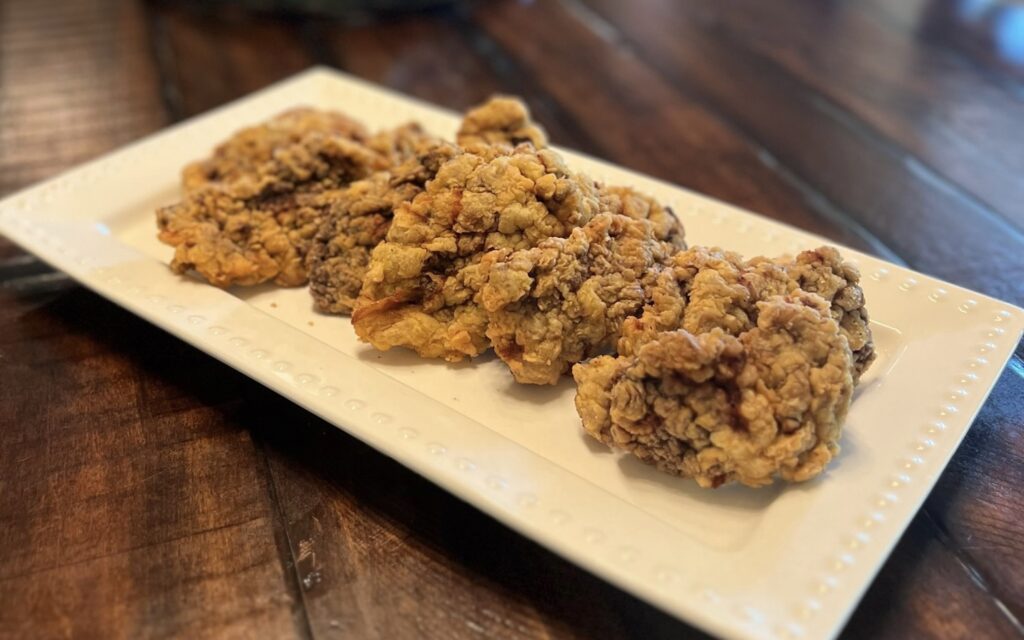
So, of course a recipe for fried white-tail back strap is second nature to Scott. He loves preparing this for his family and for the first time is sharing his Grandmother’s SECRET technique for tenderizing that cut of meat.
Are you ready? Here we go!
Here’s the best part – no special tool required! And you should be able to use a fork (no knife) to cut through it.
Click Here for the Video!

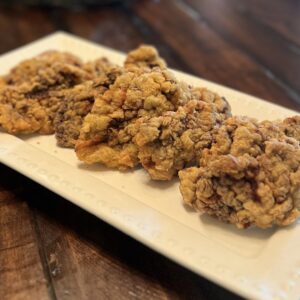
Scott's Tender Fried Back Strap
A family secret - revealed!
Course Main Course
Cuisine American
- 12 white tail or axis back strap
- 6 eggs
- 1/2 cup milk
- peanut oil
- 3 cups Flour
- salt and pepper to taste
Remove the silver layer on each back strap. Butterfly each piece. Lay out the back strap filets on a wood cutting board. Take a saucer or plate, and using the edge of the plate cut through the meat working across the full cut, You know you've cut through correctly when you hear the sound of the plate hitting the wood, The meat will be flattened to about 1/3"
Scramble the 6 eggs with the milk in a large flat bowl.
Add flour to a large flat bowl.
Dip back strap alternatively in flour, egg mixture, and bacon to flour.
Heat 3-4 inches of oil in a frying pan - preferably cast iron to about 350 degrees.
Gently lay about 3 back straps in the pan leaving room between the pieces to keep the oil hot. (adding too much meat will cool the temperature of the oil). Fry until golden brown.
Remove from the pan and season with salt and pepper to taste.
Place cooked meat into a brown paper sack to keep hot and this will also keep it from getting soggy. (another of Scott's grandmother's tips!)