A tasty recipe from the tough and legendary Margaret Lea Houston
Texas women are strong. That’s no secret. Don’t think so? Well, have you met one? As Texicureans, we love to blend our curiosity of history and food together to give you a good story.
We went to Burleson County to speak at their heritage week and found the perfect person to make and share Margaret Lee Houston’s chocolate icing recipe. You see, Texas history class and folklore is filled with stories of Sam Houston and Edward Burleson —famous “frenimies” as the kids would say these days. These men are central figures in our state’s founding. But in Texicureans tradition, we know there is more to the story so we asked, what about the women behind them and by their side?
Historically in Texas, the men went off to fight in battles, buy and sell supplies, or campaign for office. Who was left behind to manage the farm and ranch operations, raise the children, keep food on the table, and otherwise keep the “home fires burning”? The Women.
One such tough cookie was Margaret Lea Houston.
Perhaps her biggest challenge was the feisty man we know as the father of our state – Sam Houston.
20 years old and a staunch Baptist, Margaret supposedly met Houston at a garden party in 1839. Twenty-six years her senior, Houston was struck by her beauty, intellect, and poise. Despite her mother’s misgivings, the couple were married a year later and moved to Texas where Sam begins making political speeches.
The couple’s first child, Sam Houston Jr. was born in Washington-on-the Brazos in 1843. The births of Margaret Lea and Antoinette Power follow. During this time, Margaret had a breast tumor removed, using only a silver coin between her teeth as a painkiller. Didn’t I say she was tough?
The couple then moves to Independence, Texas. Margaret also begins to influence the “tough as nails” husband she married. He is baptized in the Baptist church, quits drinking, and somewhat tames his language.
It is said that when he came up from the baptismal waters in the creek, Houston’s friends said, “Well, General, all your sins have been washed away.” “If that be the case,” Houston quipped, “God help the fish downstream!”
Andrew Jackson Houston is born and the older children attend Baylor University. (It was located in Independence at this time)
The Houstons move to Huntsville in 1854 where Williams Rogers was born in 1858.
In 1859, Houston won election as the governor of Texas. In 1860, Margaret Lea Houston arrives at the Governor’s mansion with seven children, the family belongings, a team of mules, several horses and numerous dogs.
By this time, Austin society expected a certain level of social interaction at the Mansion. Weakened by asthma and the pregnancy of her eighth and final child, Margaret struggled in the early days of occupying the mansion. She rose to the occasion, however, and eventually began to receive visitors.
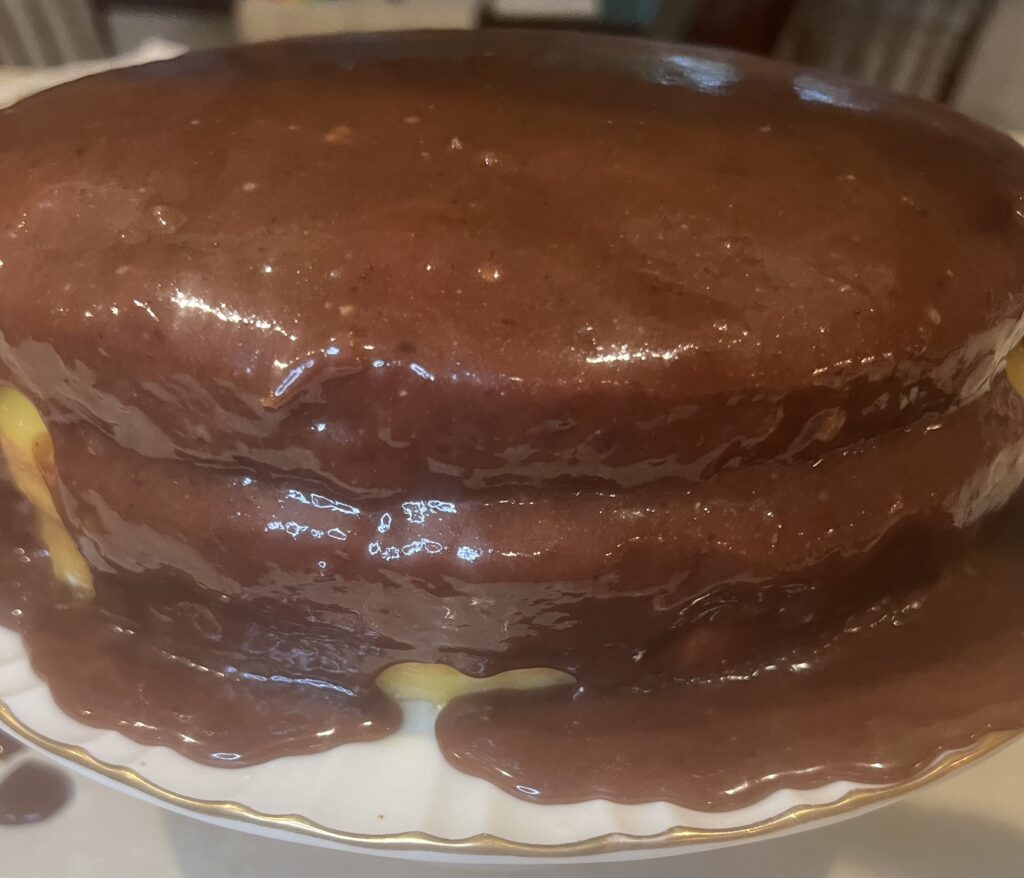
This brings us to our recipe this month: Margaret Lea Houston’s Shiny Chocolate Frosting..
And who would be a better person to prepare it with, but someone who’s 4 times Great Grandfather debated Sam Houston! Brian Broaddus’ family arrived in Burleson County (county named after Sam’s VP during his presidency of the Republic – Edward Burleson) by wagon train in 1840.
Running for governor of Texas in 1857 as an independent candidate, Sam Houston visited the county on a campaign speaking tour. Local attorney and Democratic Party leader Andrew S. Broaddus debated Houston on behalf of Hardin Richard Runnels at Waugh Campground north of Caldwell, TX. Houston carries the county but loses the election.
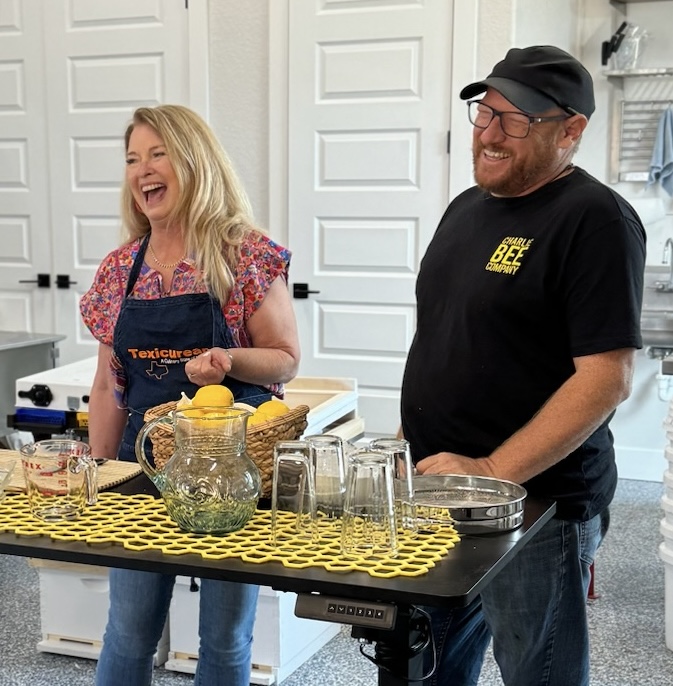
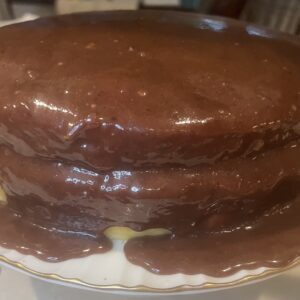
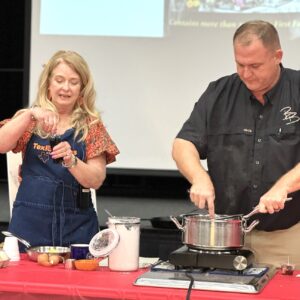
Now, back to the icing – which Brian and I prepared together, it is literally the best chocolate icing I have ever tasted!
Brian topped a Texas Sheet Cake with the icing to serve to the audience – and it was absolutely delectable. If you would like to taste more of Brian’s culinary delights – visit his “Four Tines at the Surrey Inn Restaurant” in Caldwell, Texas located on the legendary Camino Real – Hwy 21.
Shiny Chocolate Icing
A tasty recipe from the tough and legendary Margaret Lea Houston (AKA Mrs. Sam Houston)
Prep Time 10 minutes mins
Course Dessert
Cuisine American
- 3 squares unsweetened Chocolate
- 3 cups powdered sugar
- 1/8 tsp salt
- 1/4 cup hot water
- 3 egg yolks
- 1/4 cup butter
- 1 tsp vanilla
Melt chocolate in a pan sitting on hot water. Stir in powdered sugar. Add salt and hot water.
Beat in egg yolks, one at a time. Add vanilla. Mix well. Allow to cool and pour over completed cake.